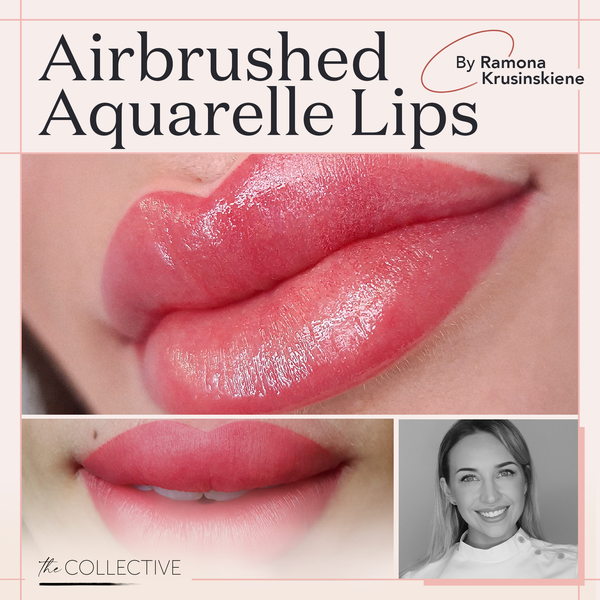
Case Study: Men’s Lip Blushing

Lip blushing has gained so much popularity over the years with women, however, more and more men are starting to see the benefits of lip blushing and are requesting this service.
The challenge with male lips is making the color and shape as natural as possible so that it is virtually undetectable. Client anxiety is something we often deal with in a Lip Blushing procedure, when working on men this is even more prevalent. Continue reading to see how Jasmine approached this client’s case and reduced his anxiety for the procedure by using the I💋INK Lip Collection blush stains.
Client's Goal
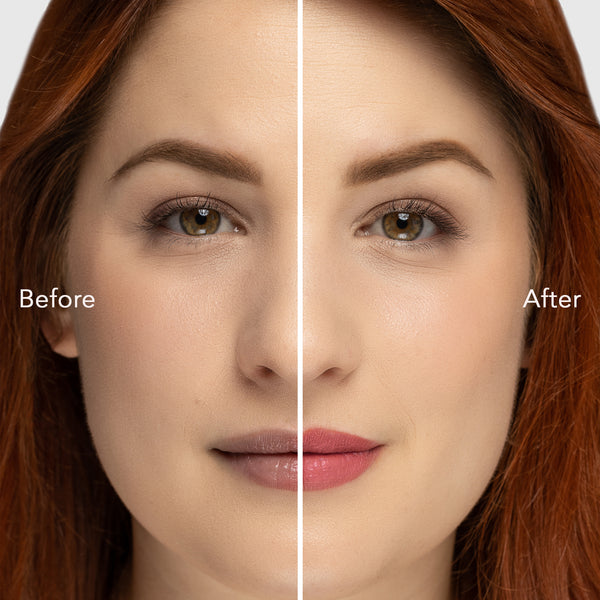
My client came in requesting a natural lip color as he suffered from pale lips his whole life. He was extremely nervous to do the procedure as he did not want it to look like he had it done, or be too bold in color. This kind of client anxiety is so common during a lip blushing procedure, making your client feel comfortable and confident in your ability to give them exactly what they are looking for is key. On a daily basis, he would wear a natural nude lip liner, so I requested he bring this in so I could get a good idea of the color he was looking for and comfortable wearing. I talked him through the full process of the procedure, showing before, after and healed results from my other clients (most importantly days 1-5). This will show him how the color is the brightest at the beginning, but following the scabbing process, the color will lighten. Understanding the full procedure from start to finish will relieve your customers anxiety and they will know exactly what to expect throughout the healing process.Client Skin Type
He is a very fair, Fitzpatrick 1 skin tone with gorgeous red hair, normal complexion and a thick skin type. Being a redhead, he had quite a few freckles, even freckles that went through his lips. My client does suffer from cold sores and has for his whole life. When you have clients that suffer from cold sores, you need to instruct them to take preventative measures by taking medication prior to their procedure. My client took Acyclovir tablets & Zovirax topical cream. By taking this medication, it will prevent a breakout due to the trauma that a lip blushing procedure causes, which can also affect the healing process and final results. Based on this information, my technique and needle choice will be important to create the least amount of trauma to his lips.

Before
Design Approach
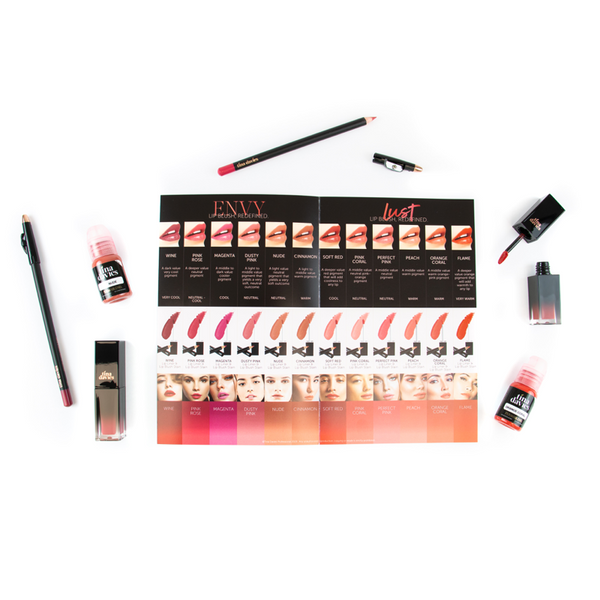
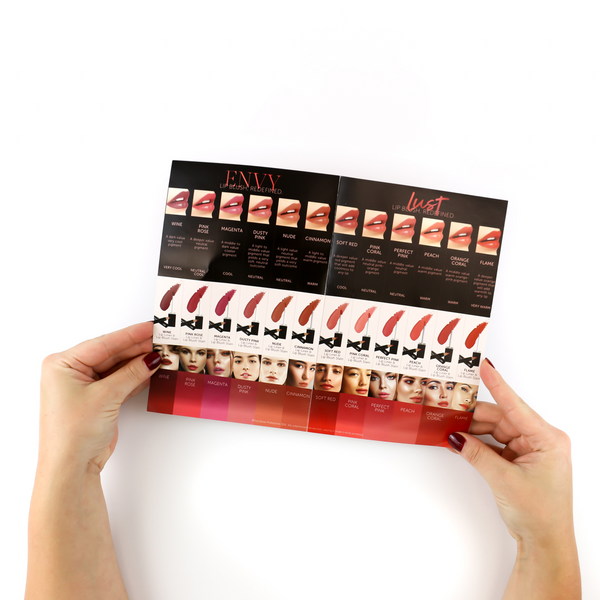
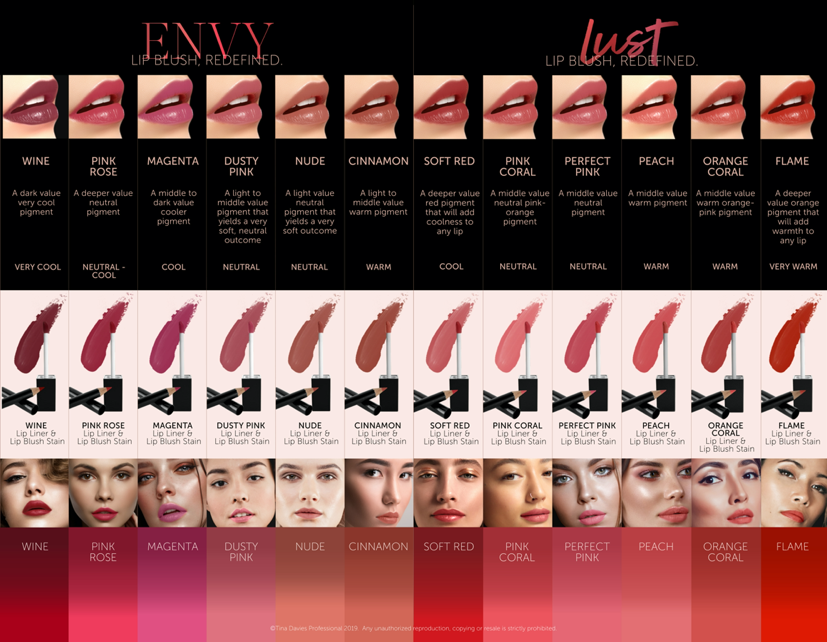
He wanted a very natural look with no extreme lip line and a lip tint color to replicate what a normal lip color would look like, based on his skin tone. Since he brought in the lip liner color that he uses on a daily basis, I used this to get a good idea of where he was most comfortable. I had 3 colors in mind for this client, Tina Davies I💋INK Nude, Cinnamon or Dusty Pink, however, I was worried Dusty Pink would be too pink and Cinnamon too deep.Using the Tina Davies I💋INK Lip Blushes I was able to give him a preview of the pigments by putting a very light layer of the gloss on his chin and smudging it out so that he would have a preview of what the color looks like with a light application against his skin tone. We decided on Tina Davies I💋INK Nude. I was thinking about adding a little bit of brown, however, decided we would go with Nude and if upon touch-up we need to add a little more brown, we could do so then. When working with clients who are nervous, less is more. You can always add at touch-up but you can’t take away.
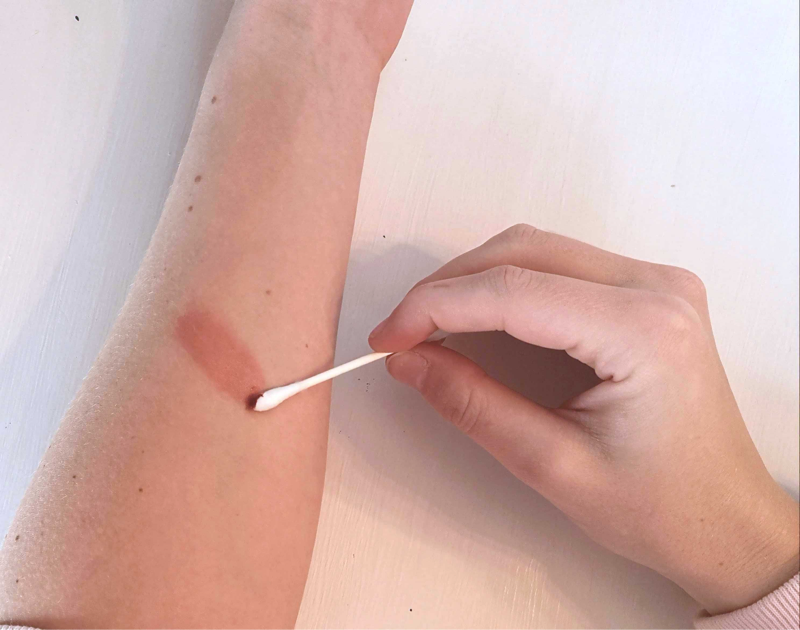
I💋INK Nude lip blush smeared to be very sheer
Technique(s) Required
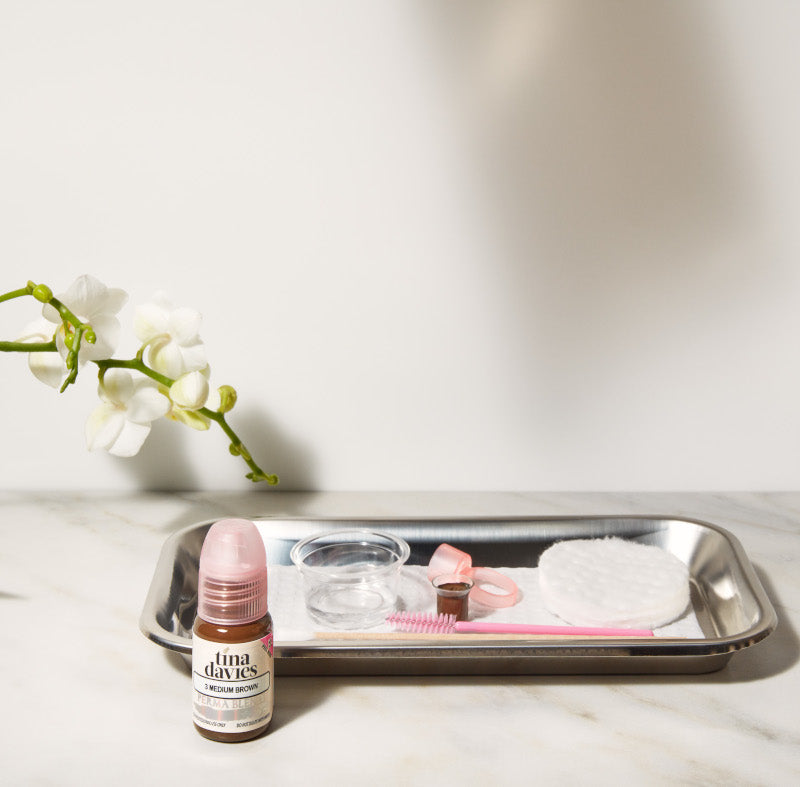
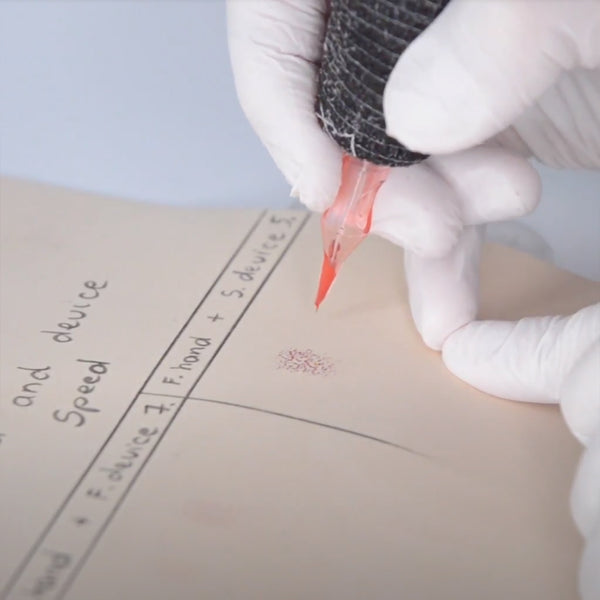
Knowing that my client suffers from cold sores, I want to create the least amount of trauma to the lips. In order to do this, I chose to use 1RL needle cartridge. Using a 1RL, the needle will go into the skin much easier with little amount of pressure and as only 1 single needle is going into the skin it will minimize the trauma, vs. a 3RL or a 5RL needle. I also work with my machine on a low speed setting, 5 volts, to minimize trauma. The higher the speed, the more the needles are going in and out of the skin, which causes more trauma.I will be sure to keep my machine at a 80-90 degree angle, this will allow me to control the amount of pigment going into the skin while also minimizing the trauma to the skin and keeping the swelling down to a minimum. Less trauma = less swelling = faster healing process. I would use a combination of whip shading and pendulum motion to control the pigment to allow for a smooth gradient deposit of color.
Prep & Pre-Draw
I like to draw on my shape first before going in with the pre-numbing. For this client, I did not want to draw a defined outline as I did not want to scare him. So instead of using a pencil, I used a lighter color cream concealer to outline the outside of his lips. This allowed me to see where I need to stay within the lines. I wanted to make sure that he felt as comfortable as possible throughout this process as he was very nervous about it looking too much like lipstick and not natural, so by skipping the colored pre-draw lip line this will keep him feeling more comfortable. Once my pre-draw was complete, I proceeded with numbing using Meso Numb cream for 15 minutes, covering the whole lips.Plan of Action
Once numbing was completed, I quickly put in a very very light outline to get the base of where I need to stay within the shape. I did not make a prominent outline, as I want the lip blush tattoo to look as natural as possible. Once the outline was completed, I lightly abrased the lips to open up the skin and used Ultra Duration liquid for additional numbing.Tip: I used Ultra Duration only twice during the treatment, no more than 3 times, as with the epinephrine it can make the skin more rubbery and blanche the skin. I typically apply it at the beginning and middle of procedures.
To create a nice gradual transition without making the lips look very outlined, I start shading in the middle of the lip and slowly build the color up to the line. This is the technique I use on each of my clients to keep it looking natural without a strong outline and is very important when working with male clients who want that undetectable look. Keeping my needle at a 80-90 degree angle I am able to control the pigment flow allowing the pigment to float into the skin for a soft gradual look and minimizes trauma to the skin. Dropping your machine angle will allow for more pigment flow therefore more saturation but causes more trauma to the skin.
I started my first pass with a whip shading motion, once completed I put my secondary numbing on. Working in small sections at a time, doing one full section, wipe and check and determine whether I need to do another layer or if not, I will move on to the next section. Once the secondary numbing is on, I switched to the pendulum motion. Completing a total number of 3 passes. It is always important to check on your clients to ensure they are not uncomfortable.
He had freckles throughout his lips which was very unique, I continued as normal in these areas allowing them to still shine through. I feel when treating male clients, personally, I like the result to be slightly imperfect as this is how natural lips look and undetectable. The procedure took 2 hours, with minimal swelling and pain.

Immediately After
To keep swelling minimal the angle of my machine as well my machine speed all come into play. I keep my machine speed at 5 volts throughout the procedure, remember the higher volts the more the needles are moving in and out of the skin, which means more damage and more inflammation will happen. With the combination of numbing and technique you can minimize the trauma to the lips, therefore minimal pain and swelling during the client experience.
Tip: To help with swelling and sensitivity I provide my clients with a refreezable ice pack that’s shaped as a lip to take home. Soothing and so cute!
Healed

Healed
Touch Up
After 6 weeks, he was ready to come back for the touch-up appointment. Both my client and I were very happy with his healed results, so we agreed I'd use Tina Davies I💋INK Nude pigment again as the color was perfect for his skin tone. I just touched up some areas that had a couple imperfections. Using the 1RL I did one full pass using a combination of whip shading and pendulum, ensuring not to touch the outline, just shading, to keep it looking as natural as possible.Tip: Less is more when working with male clients, if you are worried about color go for the most natural and slowly build the color over your 2 sessions.
Aftercare Tips
On the day of procedure, I have them dab their lips to clear any lymph fluid. I recommend they do not get their lips wet or use steamers, but dab with a damp cotton pad and apply a very thin moisturizer. I use A&D Ointment during the day when feeling dry for at least 1 week, but ultimately 2 weeks is better. Keep it moisturized.
Procedure Notes:
Age: 20’s/30’sFitzpatrick: Fair 1, Redhead
Skin type: Normal, Thick Skin, Freckles, Suffers from cold sores
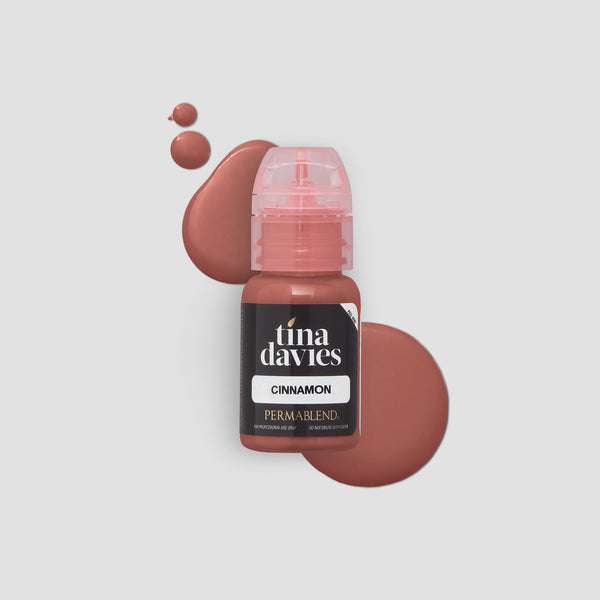
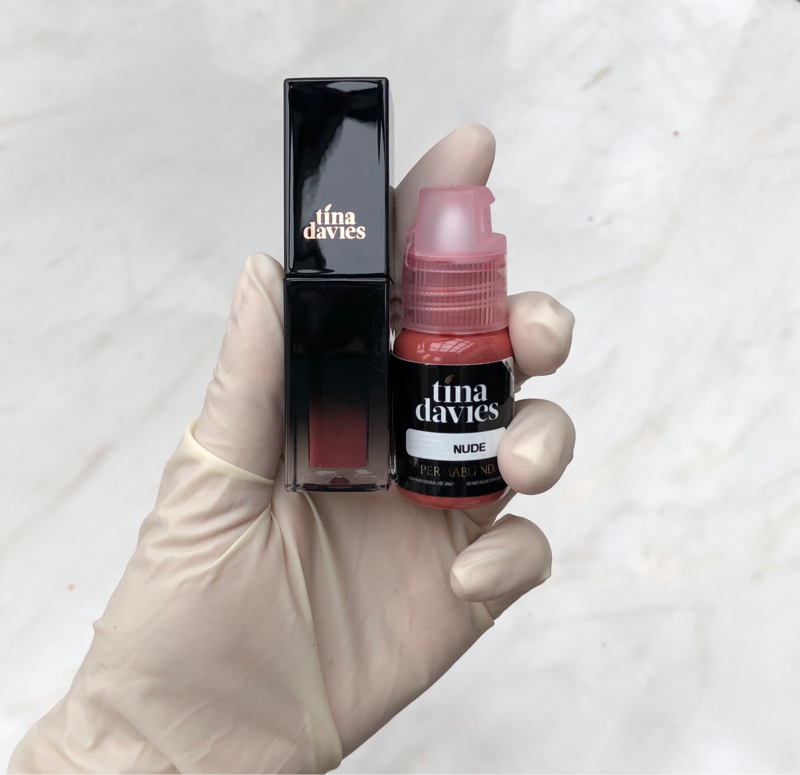
Color: Tina Davies x Perma Blend I💋INK Nude Pigment and Lip Blush Stain
Method: Whip Shading and Pendulum
Device: Bellar Device
Needle: Vertix 1RL 0.33 mm needle cartridge
Artist: Jasmine Diebelius
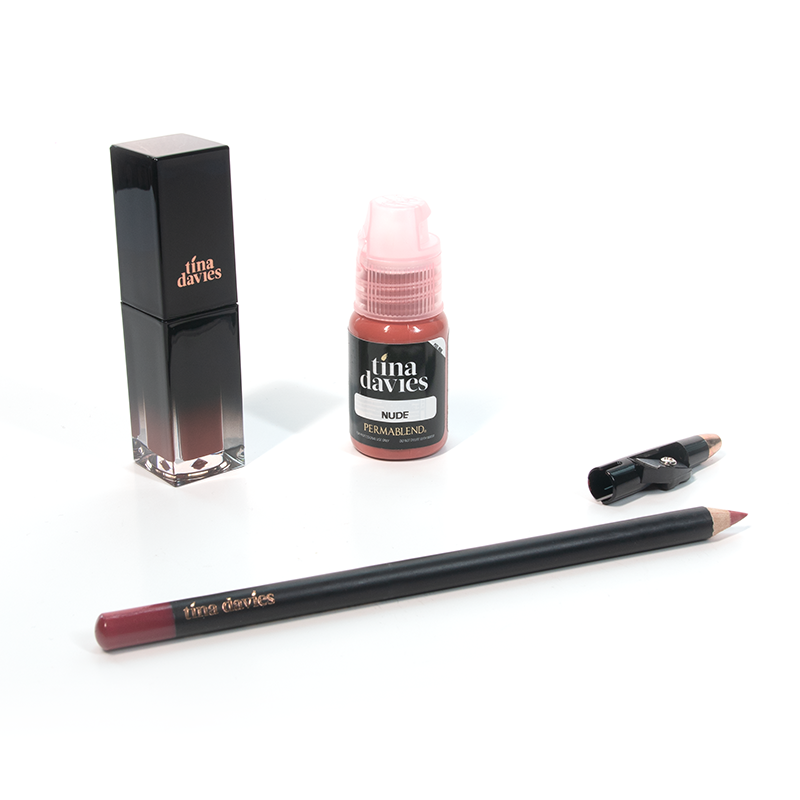
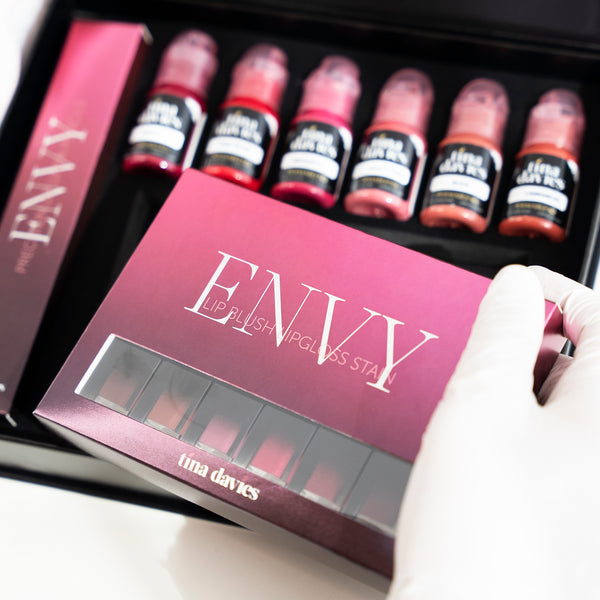
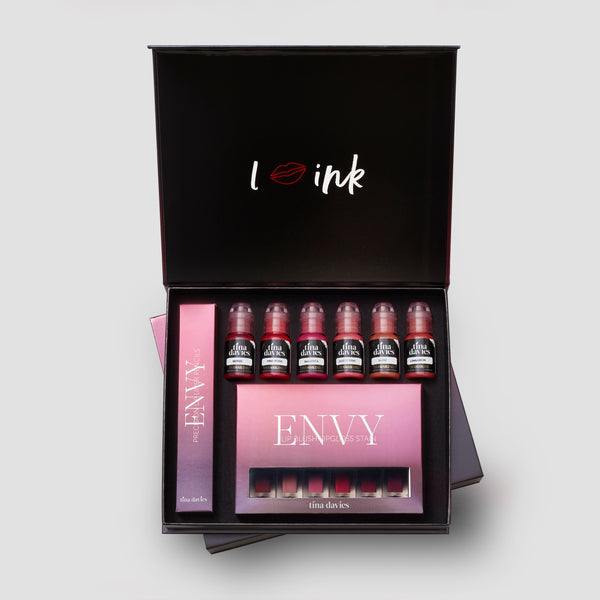
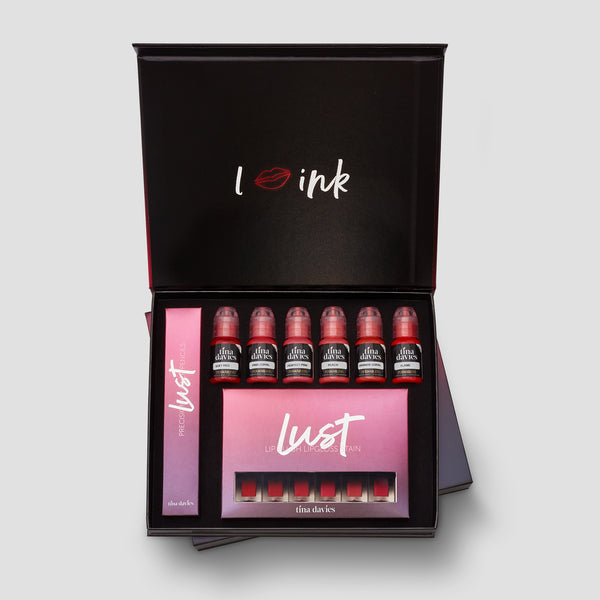
Shop Tina Davies x Perma Blend I💋INK Nude Pigment Trios
Learn Lip Blushing from Jasmine Diebelius
Join Jasmine on this exciting journey as she guides you through 2 full procedure videos, 34 demonstrational videos, and countless how-to visuals that’ll help perfect your craft. Watch her conduct live procedures using a 1RL for fool-proof pigment implantation as well as a 7CM needle for maximum coverage efficiency.
In this course, you will learn her secrets to creating beautifully healed lips with natural and delicate definition. Practice alongside her latex demonstrations, step-by-step pre-drawing videos, and lip shape instructions to finesse your skills. Learn exactly what pigments, machines, needles, and tools Jasmine uses for every client’s individual need. We’ve also included 6 case studies packed with healed results and downloadable forms, sheets, and pro tips to help you successfully achieve your client’s goals, every single time.
Refine your skills and learn new techniques for outlining and shading lips in half the time you’d normally take using both single and magnum needles. Jasmine uses this magical technique in her own work for maximum working speed, and her trademark lip techniques have made her one of the most sought-after artists in the PMU industry. Get ready to create magic!